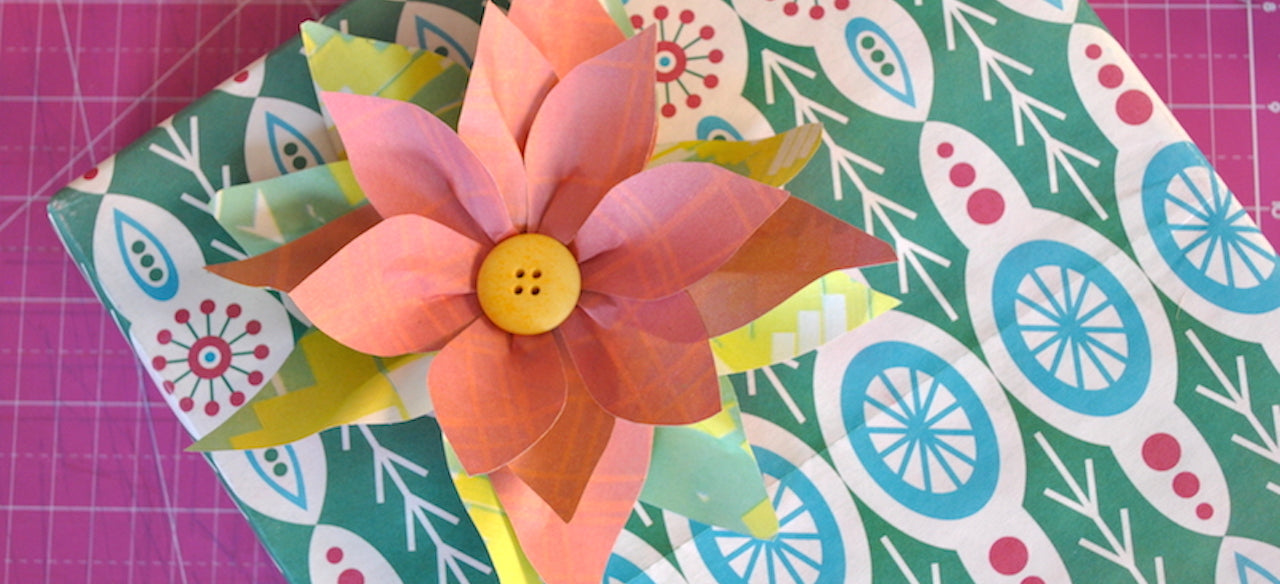
How-To: Paper Poinsettia Gift Topper Kit
December 08, 2014


Top off your holiday wrapping with this beauty
The scene-stealer this season has been this lovely paper poinsettia. It was so popular we kitted-up everything you need to make them yourself and created our Poinsettia Gift Topper Kit, available now in our shop.
With Christmas just a few weeks away, it's time to build out those kits. We are here to help! Below are step-by-step photos and instructions to help you make your poinsettia gift toppers. If you get stumped or have a question or suggestion, drop us a note here.
Happy wrapping!
Tutorial: Build your Wrappily Paper Poinsettia Gift Topper Kit
1. Gather a pencil, scissors, a standard-sized stapler, and clear tape. Unpack kit materials on a clear work surface. Lightly trace the large stencil on the large paper, it will fit two shapes horizontally. Repeat with the small stencil on smaller paper; it fits three horizontally. Cut out the petal shapes with scissors. Save time by cutting multiple sheets together. You will need six large and four small petal shapes per poinsettia.

2. To create dimension, fold a single pleat lengthwise into the center of each petal shape. Secure with a sliver of tape on the back, if desired.


3. To create the base layer, overlap four large petals, green-side up, to form a complete circle. While holding together with your thumb and finger, gently tuck base layer into a standard stapler and secure in the center with one staple.

4. Next build the top layer, all petals should be red-side up. Cross two large petals, then top with four small petals fanned into a complete circle. When all six shapes are in place, staple once to secure.


5. Center top layer on the base layer, offsetting so green “leaves” peek out under red “petals”. Staple once in center.

6. Choose a button, attach a glue dot to its back, and affix to the center of the flower, covering staple. Attach the bottom of poinsettia to the clothes pin with two glue dots or a thin line of hot glue. Voila! A perfect holiday gift topper at your service!


Buy this kit now:
Coordinating Wrapping Paper Pairings:
 Tannenbaum from 6.00 No. of Sheets:
Quantity: Add To Cart
  sale Holly/ Ornaments from 6.00 Number of Sheets:
Quantity: Add To Cart
Leave a comment
Comments will be approved before showing up.
© 2025 Wrappily. Powered by Shopify
